After creating a new order, you will see a glowing Create order item button on the bottom left. Click on it. A new window will open, allowing you to manage the Order Item’s settings.
- Select the product to manufacture. You can learn how to add a product here.
- In title, you can name this order item, for example, Product 1 January or Chair Model #45.
- You also have the option to make this order item a prospect. This means you can get the production plan of this order to get a realistic date when your company can complete it without scheduling. This option is generally used to support your company’s sales team.
- You can also make this order item have children dependency reversed.
- You can select the start day of this new job by clicking the calendar icon or skip this action and allow the AI to choose the best available day.
- On Delivery day, select the date you want this order to be finished and ready to be shipped.
- Next, choose the Production Quantity. This is the actual quantity you will produce. This option is helpful if you want to create some to store in the warehouse or have some in stock.
- Order Quantity is the quantity the client ordered.
- Then, you can add additional information like restrictions, warnings, and more.
- You can share additional information about this order item in the attachment options, such as blueprints or instructions.
- Finally, click Save. You will now see this new order edit panel.
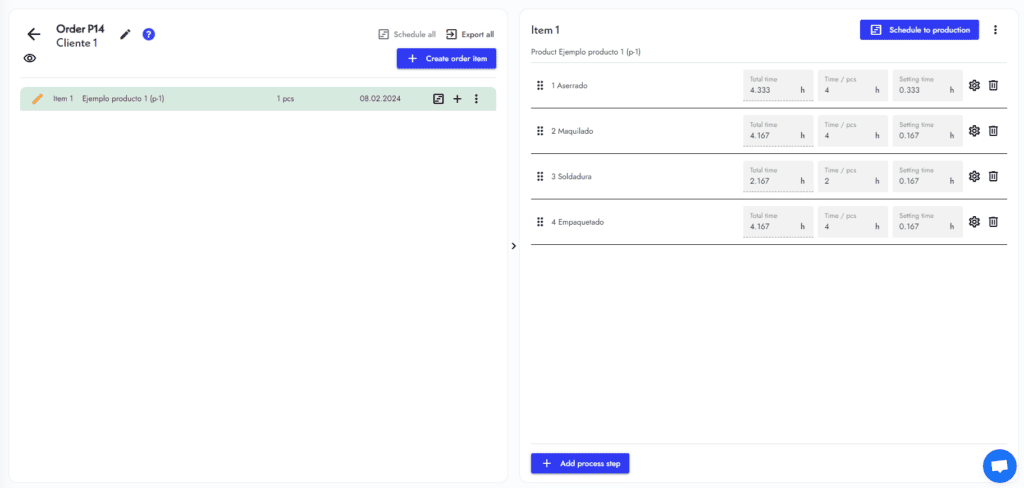
- On your right, you will see the Process Steps for this item. You can edit each one by clicking on the Gear Icon or delete it by clicking the Trash Can Icon.
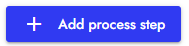
- You can change the order of the steps by holding the left click of your mouse and moving the step selected with it. You can also add a new process step by clicking the Add process step at the bottom.
- You will notice, too, that your new order item has yet to be scheduled. Click on the glowing button Schedule to production.
- Now click the View in Timeline button.
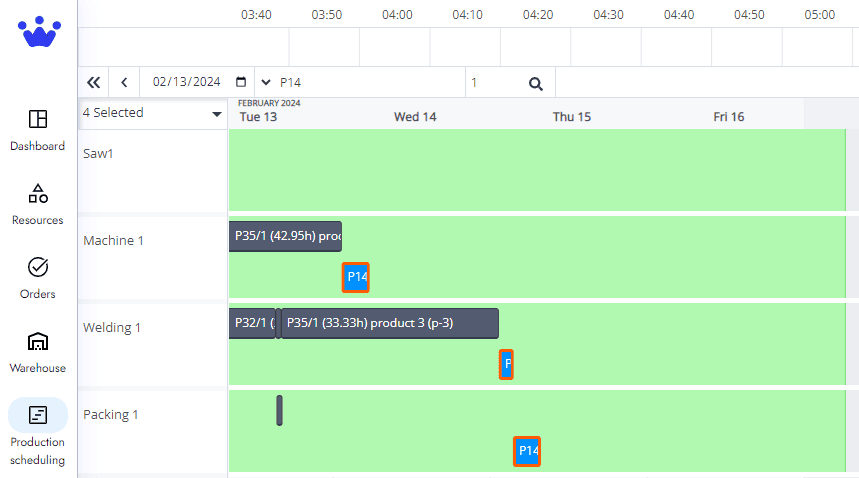
- You will be redirected to the GANTT Timeline. Here, you will see your new order in blue, which means this job is still a draft. Click Accept to schedule and make this job appear in your employees’ timeline, or Discard it if you don’t approve.